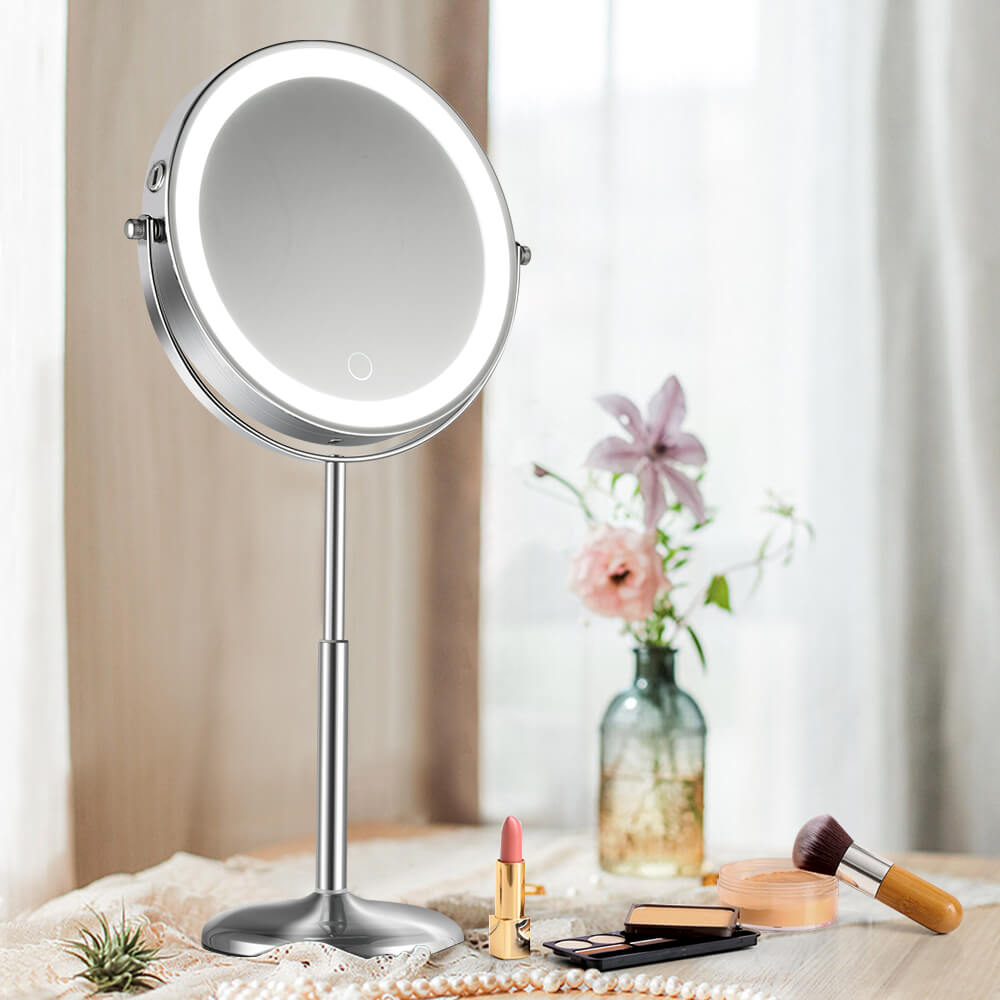
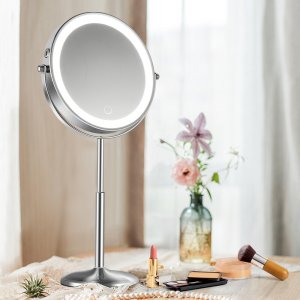
LED wall mirrors have become a popular choice for modern bathrooms, offering enhanced lighting and a sleek aesthetic.
If you’re wondering how to install an LED mirror, this comprehensive guide will provide you with detailed instructions. We will have a lead to show how to install it in your bathroom.
At the meantime, we’ll walk you through the necessary tools, measurements, and installation steps to ensure a successful installation for your LED mirror.
Installing a battery in an LED mirror is a relatively straightforward process.
By following a few key steps, you can have your LED mirror up and running in no time.
This guide will cover the tools and materials required, measuring for proper installation, and the step-by-step process of mounting the mirror and connecting the battery.

Tools and Materials:
Before you begin the installation process, gather the following tools and materials:
1. Drill
2. 2 or 4-foot Level (or Laser Level)
3. Tape measure
4. Pencil
5. Stud Finder
6. Phillips Screwdriver
7. Screws and brackets (typically supplied with the mirror)

Measuring before Installation:
Accurate measurements are crucial for a successful LED mirror installation. Follow these steps:
1. Remove the LED mirror from its packaging.
2. Measure the mirror’s overall width and height to ensure proper clearances and a suitable fit for your wall.
3. Determine the ideal location for the LED mirror, considering whether it should be installed vertically or horizontally.
4. Refer to the LED mirror manufacturer’s instructions for locating and drilling holes for wall brackets or anchors. This may involve attaching a removable backplate or using angle wall brackets.
Install steps:
1. Ensure the wall surface is of suitable strength and construction for mounting the mirror.
2. Measure the distance between the keyhole centers on the back of the mirror and mark the hole positions on the wall.
3. Use a drill to create holes in the marked positions, ensuring they are horizontal.
4. If supplied expansion bolt plugs are suitable for solid stone or brick walls, hammer them into the holes. Otherwise, purchase the correct plugs and screws for your wall type.
5. Use a screwdriver to tighten screws into the expansion bolt plugs, leaving approximately 5-10mm of the screw standing proud of the wall.
6. Follow the manufacturer’s electrical connections guide to make the necessary electrical connections from the mirror to the mains supply.
7. Hang the mirror securely onto the screws fitted to the wall.

Conclusion:
Installing an LED mirror is a simple process that can be accomplished with basic tools and careful measurements. By following the step-by-step instructions provided in this guide, you’ll be able to enjoy the benefits of an illuminated LED mirror in your bathroom.
Make sure to consult the specific instructions provided by the LED mirror manufacturer to ensure a safe and successful installation.


